How to Get Started with Futures Grid Bot on BloFin Web
October 22, 2025 at 03:19 PMHere’s a step-by-step guide to creating your first Futures Grid Bot on BloFin.
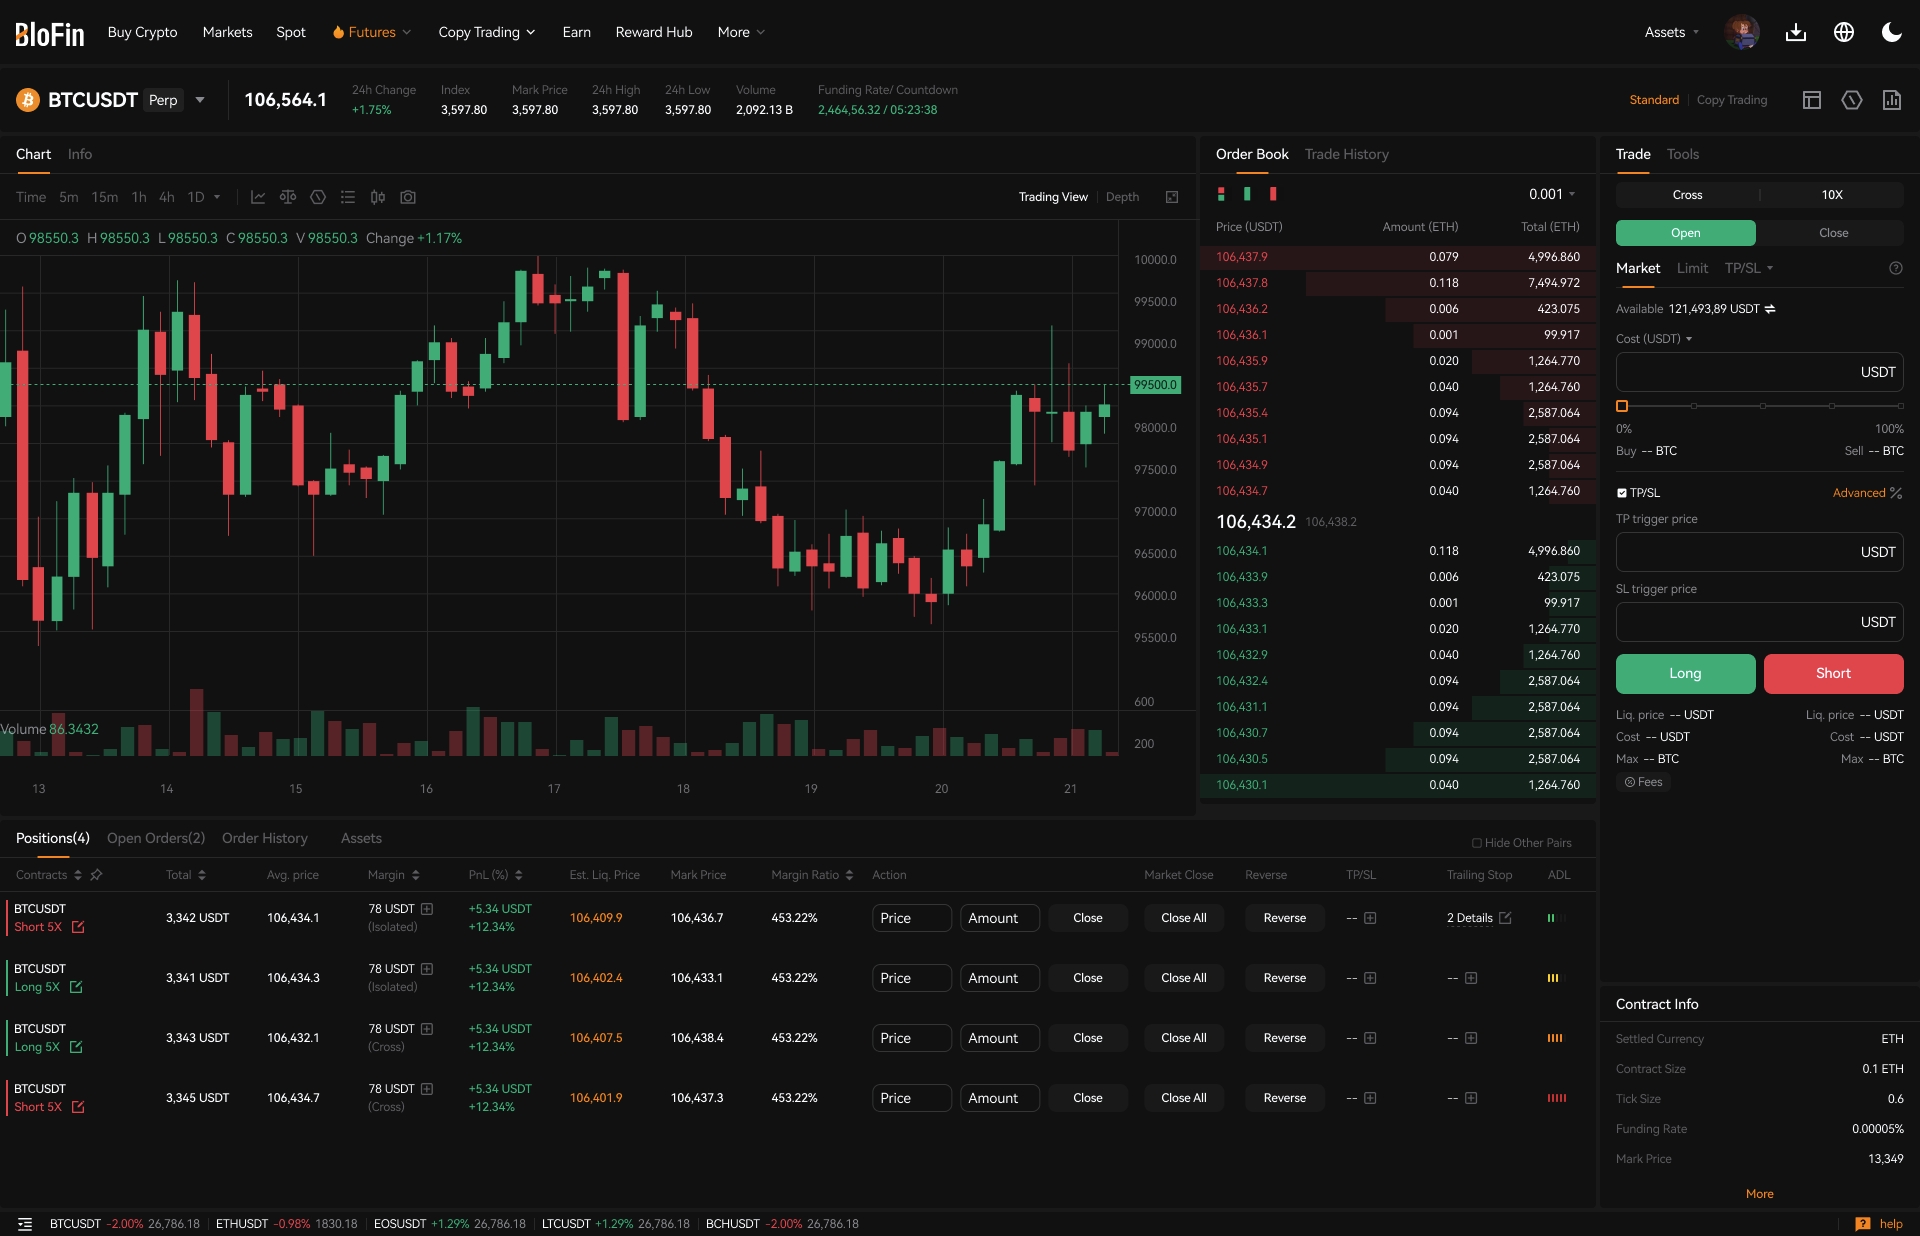
Trade via Trading Bot Page
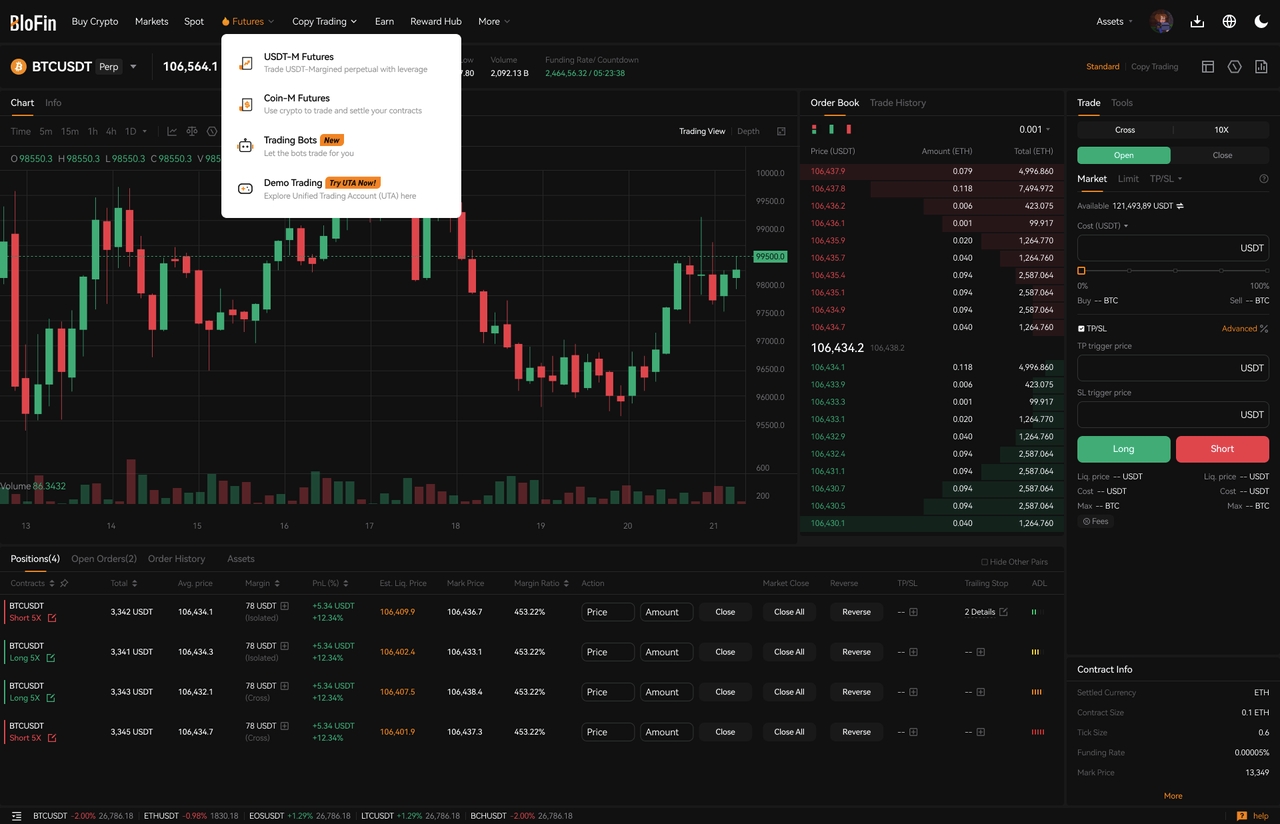
Step 1: Please click on Futures → Trading Bots in the navigation bar to enter the BloFin Trading Bots page.
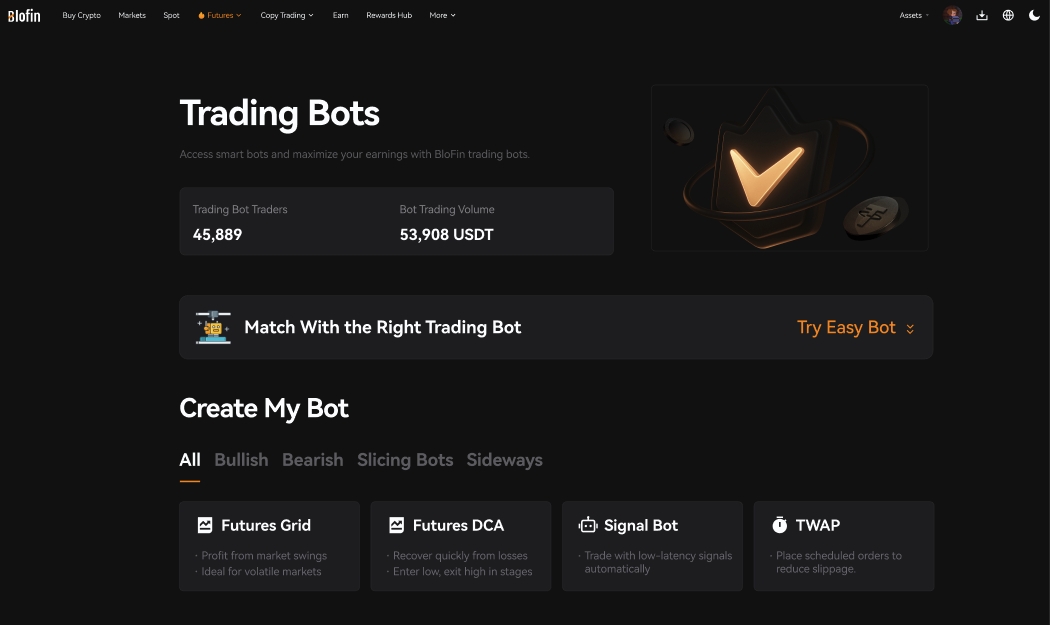
Step 2: Create your Futures Grid Bot by clicking on Futures Grid to go to the Create Futures Grid Bot page. The maximum amount of Futures Grid Bot can be created is 20 bots.
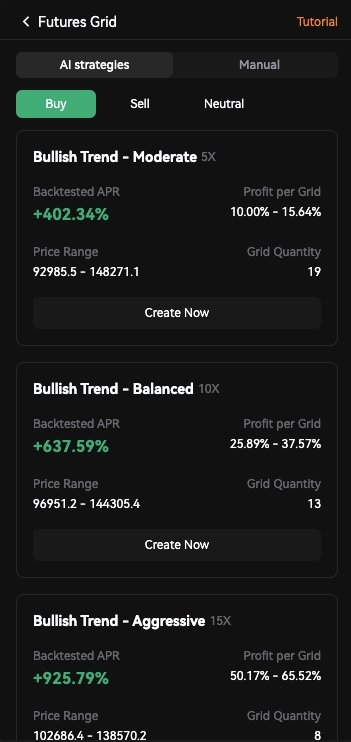
Step 3: You can create Futures Grid Bots in two ways:
a) AI Strategy
- Contracts: Select contracts trading pair
- Order Direction: Buy, Sell, or Neutral
- AI Strategy Type: Select the AI strategy that suits you and click Create Now
- Invested Amount: Enter the amount to invest
Then, click on Create Now.
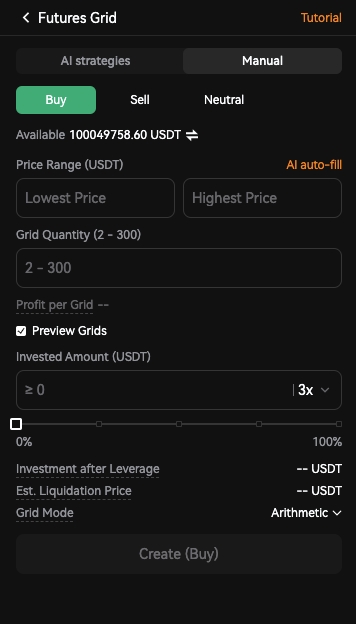
b) Manual
- Contracts: Select contracts trading pair
- Order Direction: Buy, Sell, or Neutral
- Price Range: Set lowest price and highest price
- Grids Quantity: Enter the number of grids
- Leverage: Set your preferred leverage
- Invested Amount: Enter the amount to invest
Then, click on Create.

Step 4: Please double-check the grid bot information you’ve created, and then click on Confirm to start trading.
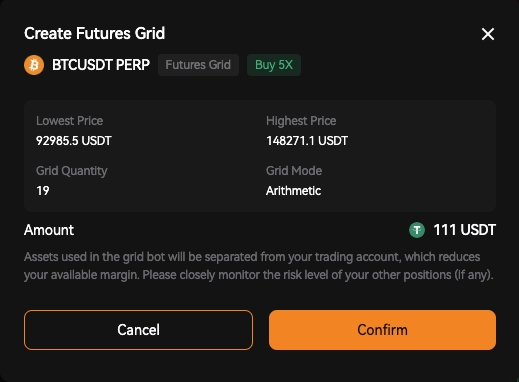

Your Futures Grid Bot has been successfully created!
You can click "Details" in the "Bot Created" pop-up window to explore more information, including current status of your Futures Grid Bot, current orders under the Positions tab and your order history.
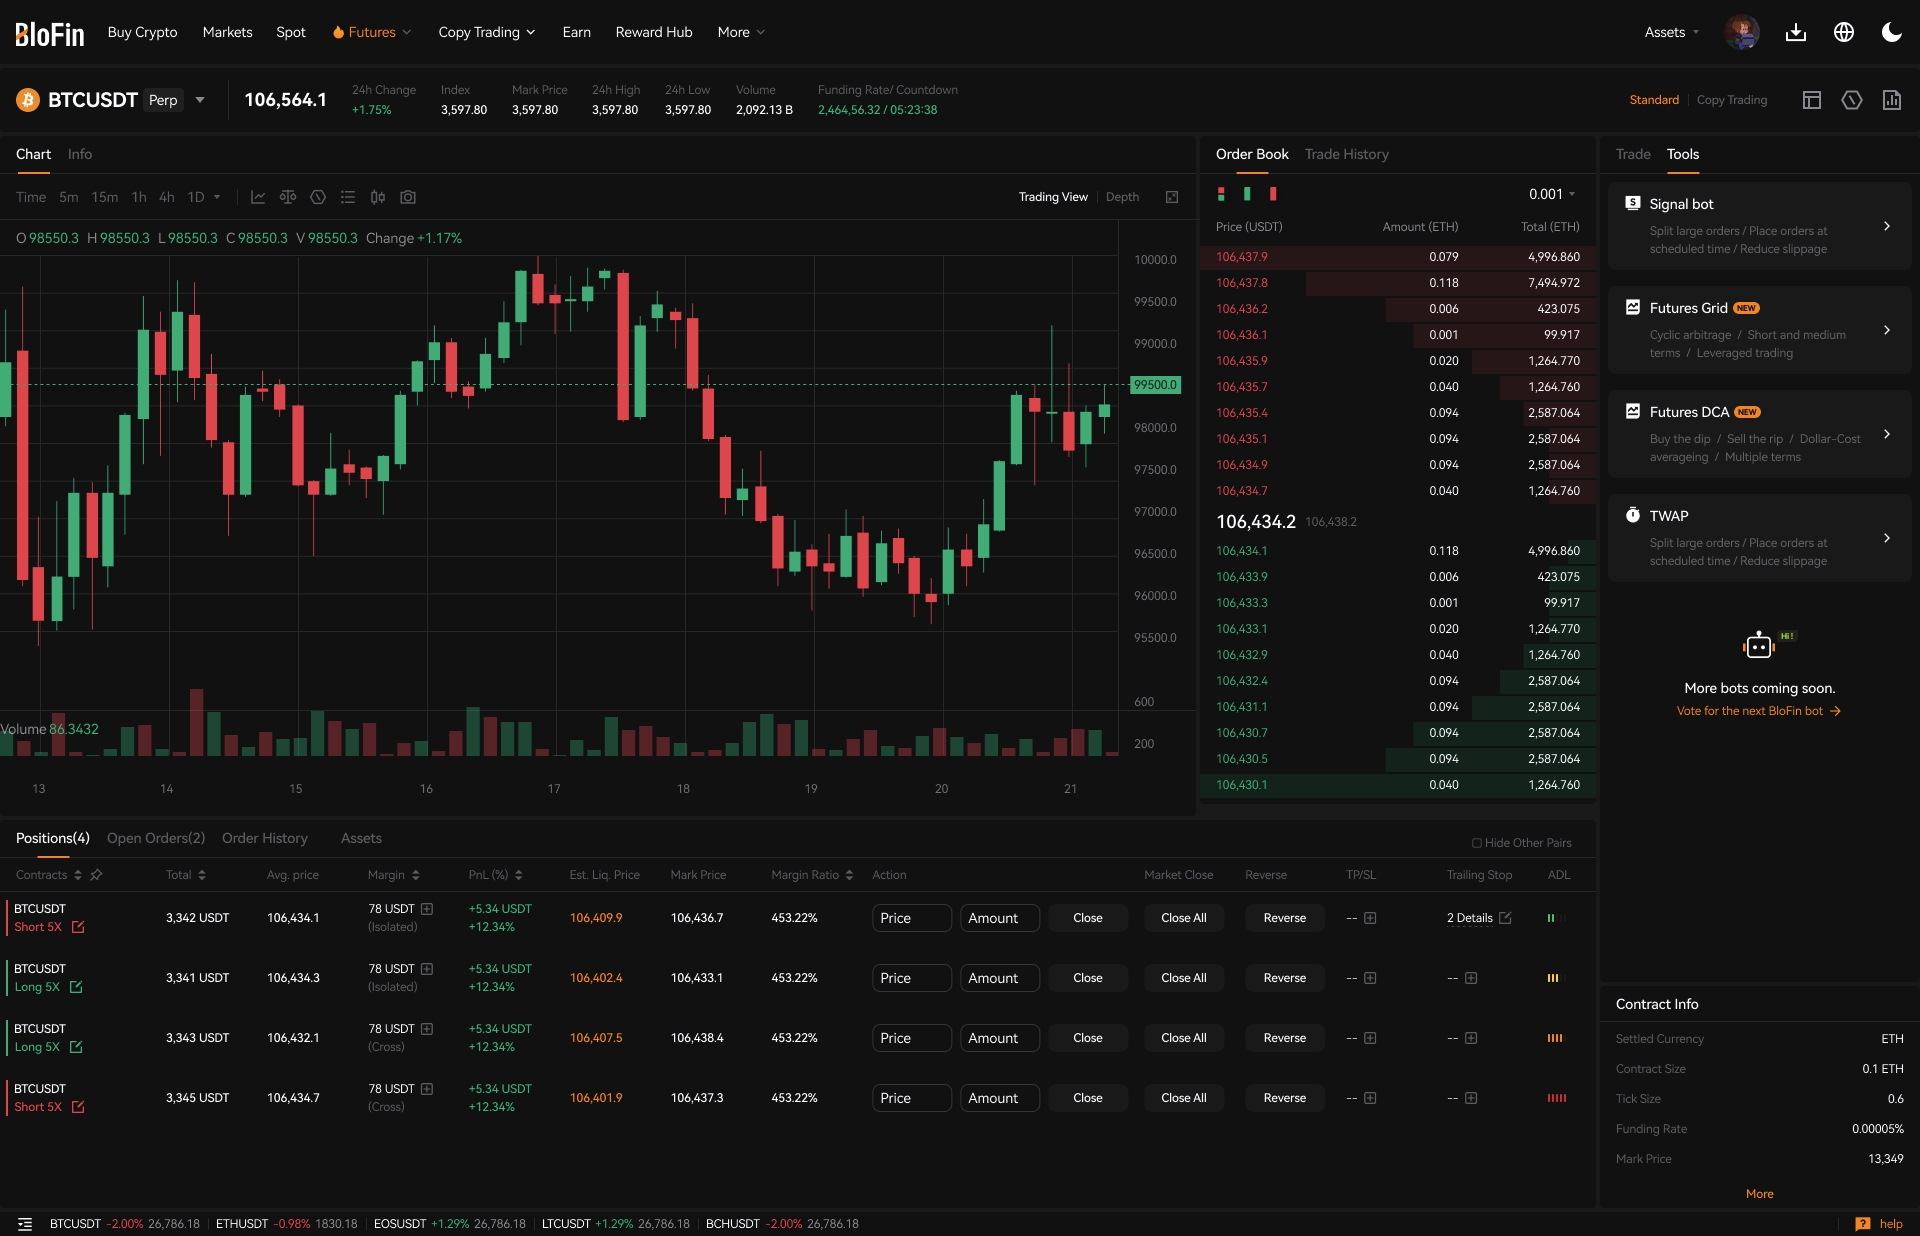
Trade via Futures Trading Page
Step 1: Please click on Futures → USDT-M Futures in the navigation bar to enter the USDT-M Futures Trading page.
Step 2: Select Strategy in the order zone on the right side of the USDT-M Trading page.
Step 3: You can create Futures Grid Bots in two ways:
a) AI Strategy
- Contracts: Select contracts trading pair
- Order Direction: Buy, Sell, or Neutral
- AI Strategy Type: Select the AI strategy that suits you and click Create Now
- Invested Amount: Enter the amount to invest
Then, click on Create Now.

b) Manual
- Contracts: Select contracts trading pair
- Order Direction: Buy, Sell, or Neutral
- Price Range: Set lowest price and highest price
- Grids Quantity: Enter the number of grids
- Leverage: Set your preferred leverage
- Invested Amount: Enter the amount to invest
Then, click on Create.
Step 4: Please double-check the grid bot information you’ve created, and then click on Confirm to start trading.

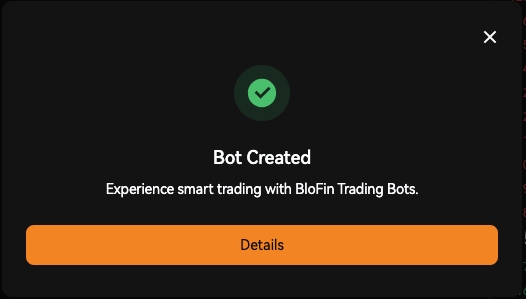
Your Futures Grid Bot has been successfully created!
You can click "Details" in the "Bot Created" pop-up window to explore more information, including current status of your Futures Grid Bot, current orders under the Positions tab and your order history.
Was this article helpful?